|
You are here: Home
: Door Details & Pricing : Hormann
Sectional Doors : Sectional
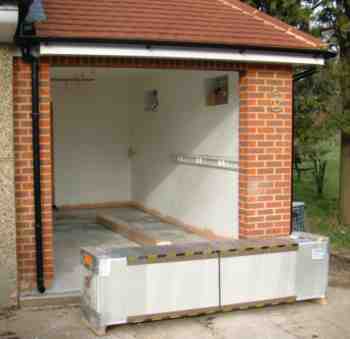
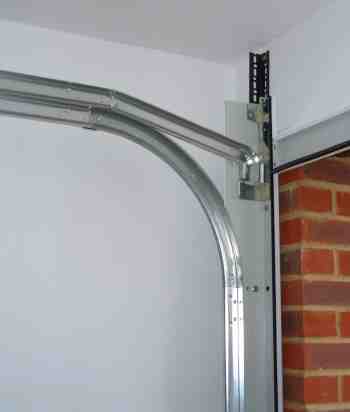
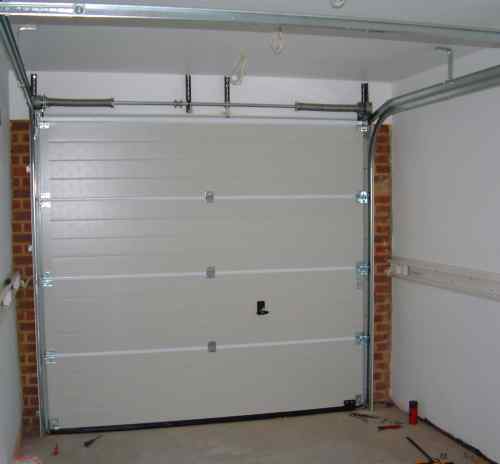
Door installed example Sectional doors installed exampleTo give you an idea of what is involved with installing a Hormann Sectional door we have some images taken throughout the installation of a 7'x7' LPU40. As delivered: Building up the frame that fits to the rear face of the brickwork: The frame mounted to the rear face of the brickwork - note the clamp
used to hold it in place whilst fixing points are drilled and
secured. Note that the frame (and therefore the door) is wider
than the brick opening - you do not have to order an exact size to match
your opening width as long as you have the necessary clearance on each
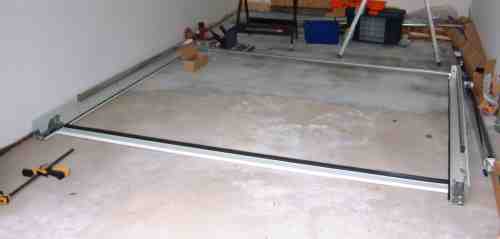
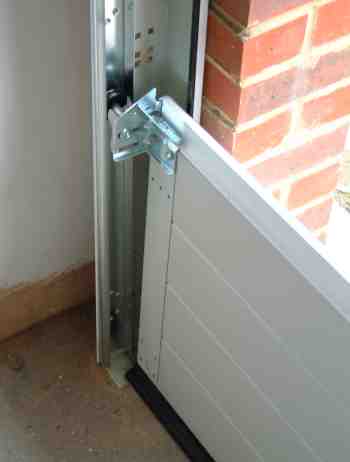
side: Tracks and rear support strut are positioned and secured: Close up of the support structure. The Dexion brackets were
used to give extra support for frame fixings that entered soft mortar
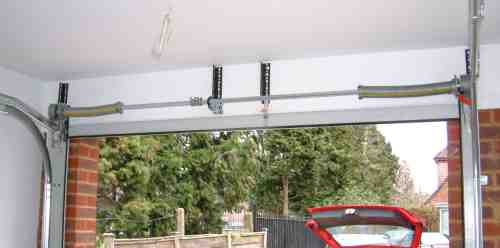
with little structural strength: The spring assemblies are fitted - these take the weight of the door
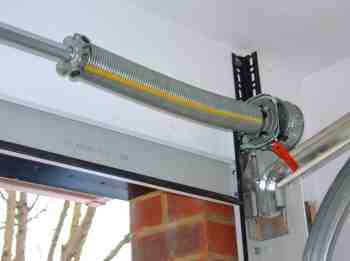
throughout the lifting cycle so that the doors feels light to lift: A close up - the yellow line indicates that there is not tension yet
in the spring, this is added at a later stage when all panels are in
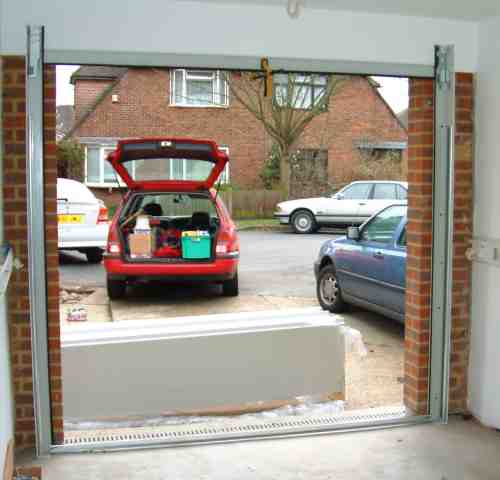
place: First panel in position having
had the bottom black rubber seal inserted. The top roller has been
fitted, a bottom roller is also fitted. The second panel is fitted as is the handle. Note the central
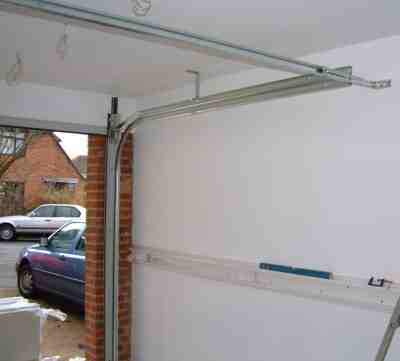
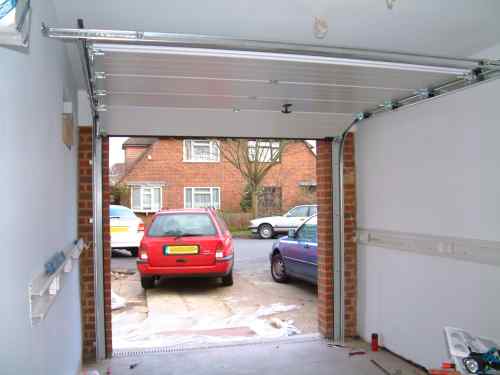
hinge which adds support and strength: All panels in position. The spring assembles are now connected
and tensioned: ... allowing you to open the
door. The door requires some adjustments to gain the correct
sealing. Locks were not fitted to this door as it was automated
with a Liftmaster
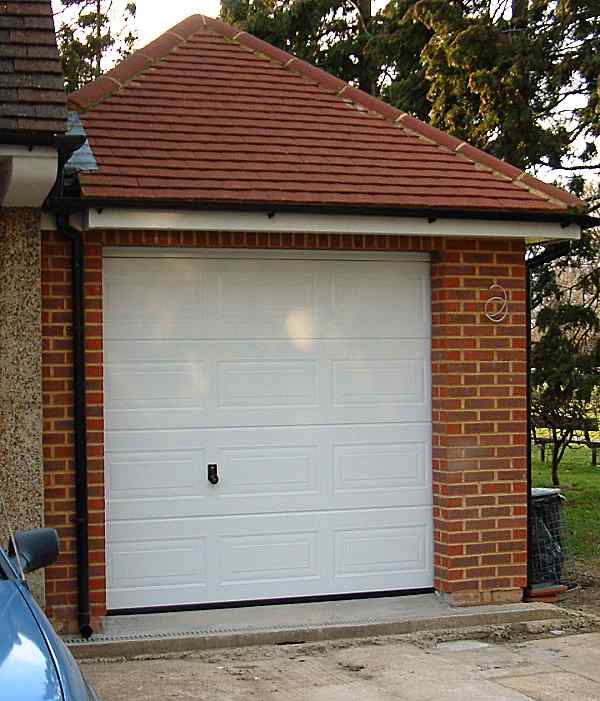
DC800 Job Done!! Note that
this opening is slightly higher than the door so a little frame shows at
the top - a neat solution for non-standard openings: |